Creative Options: Tucks
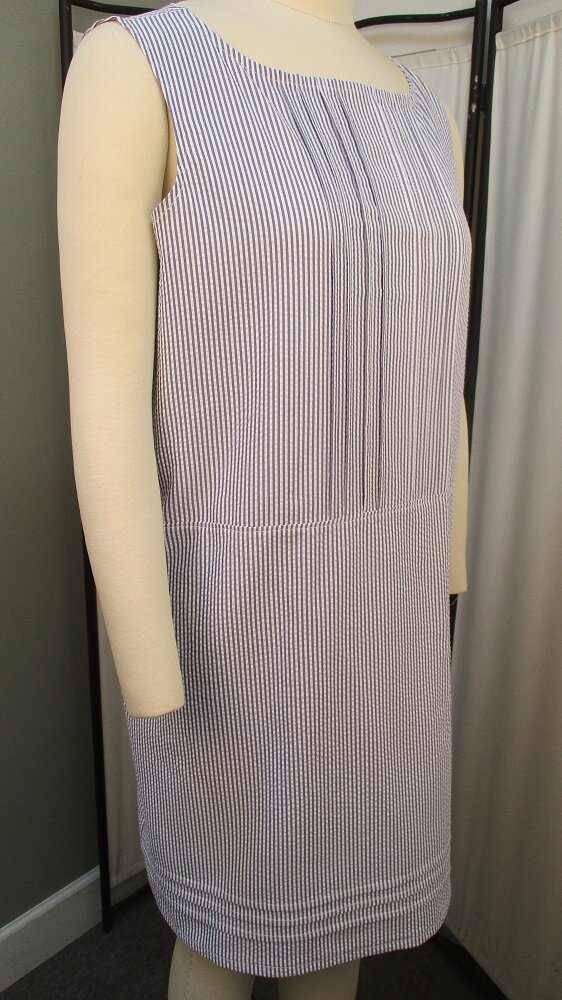
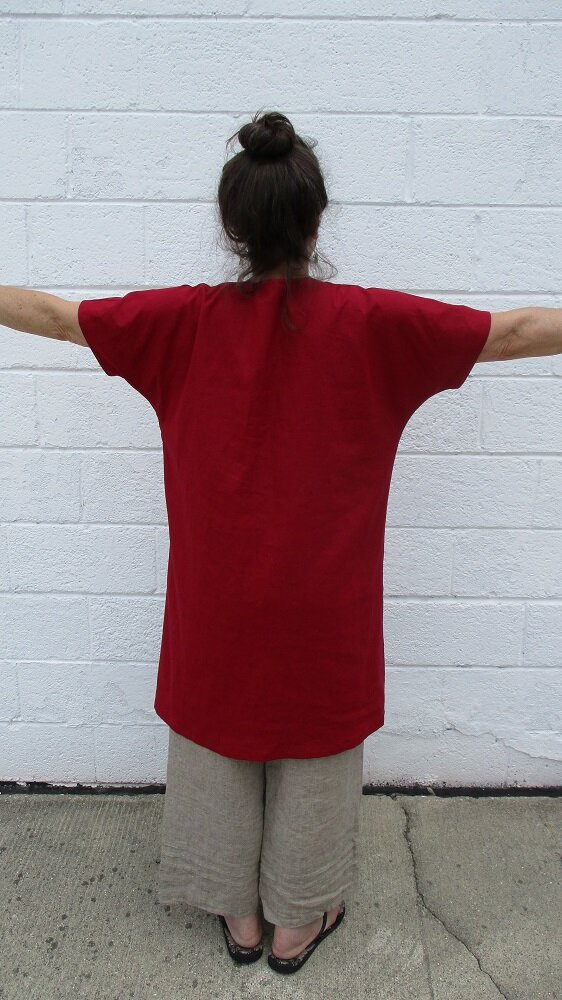
Tucks turn a simple shift dress into a stylish summer must-have! Perfect for today - 90*F and sunny!
Tucks are a wonderful design element when added to a garment with simple lines and silhouette. Once you start looking at tucks you will begin spotting them everywhere! Take a look at the Project and picture tutorials on this page for inspiration. Then, try adding to tucks to these patterns:
Tops
Boyfriend Jacket and Shell 311 - altered shell pattern with both vertical and horizontal tucks pictured above. Scroll down to see the project.
Three Tees 917 - see picture tutorial below.
Swing Jacket - horizontal tucks suggested.
Banded Neck Tee from Travel Trio One 1204
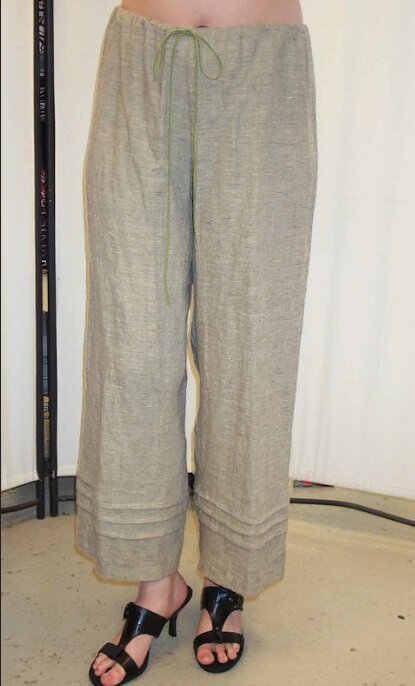
Wide leg pant patterns - to shorten hem or as design detail.
Wide Leg Pant from 824 - Scroll down to see picture tutorial.
Pants for Wovens 1010 (If you already have it - pattern is sold out right now. If you do not have it, we are working on getting it into downloadable format.)
Dresses - horizonal or vertical, similar to the versions on this page.
Skirts - horizontal tucks work best on skirts.
I have included a printable Tuck Template (PDF) if you would like to use the same tuck size and spacing that I did in the projects below. You can save this file and reprint as many times as you need!
For a great basic tutorial on making tucks and darts, try this informative blog post.
Project: Dress with Tucks
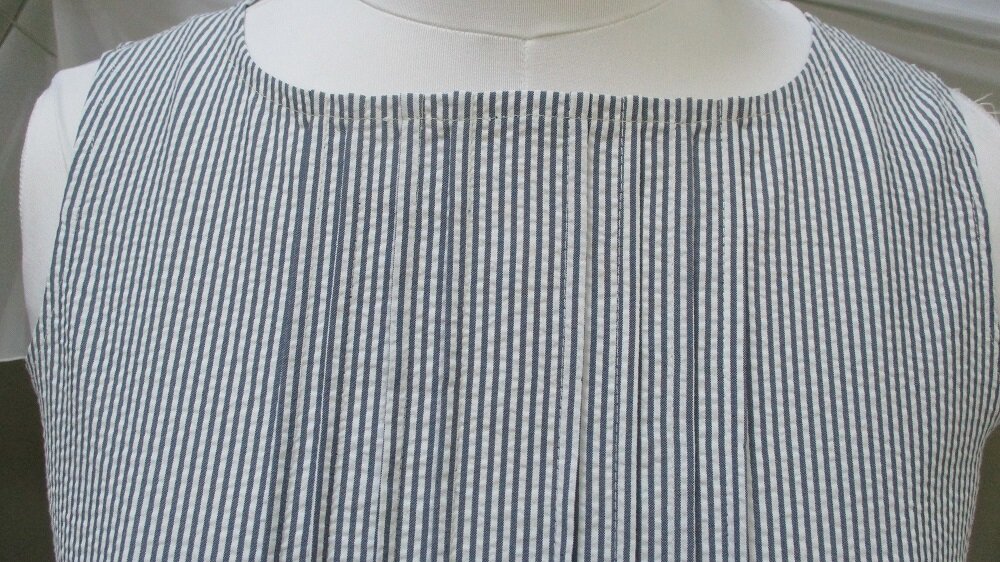
Several alterations were made to the Boatneck Shell pattern (included with the Boyfriend Jacket Pattern #311), to lengthen and add both vertical and horizontal tucks. I used a cotton seersucker woven fabric with small pinstripes, which makes marking and sewing tucks easier but photographing them much harder!
Trace and Alter Pattern Pieces
Pattern-maker Hint: You can get more mileage out of your basic patterns by tracing them to pattern making paper. After just a few tweaks, you can have a completely different top and get a taste of the designing process.
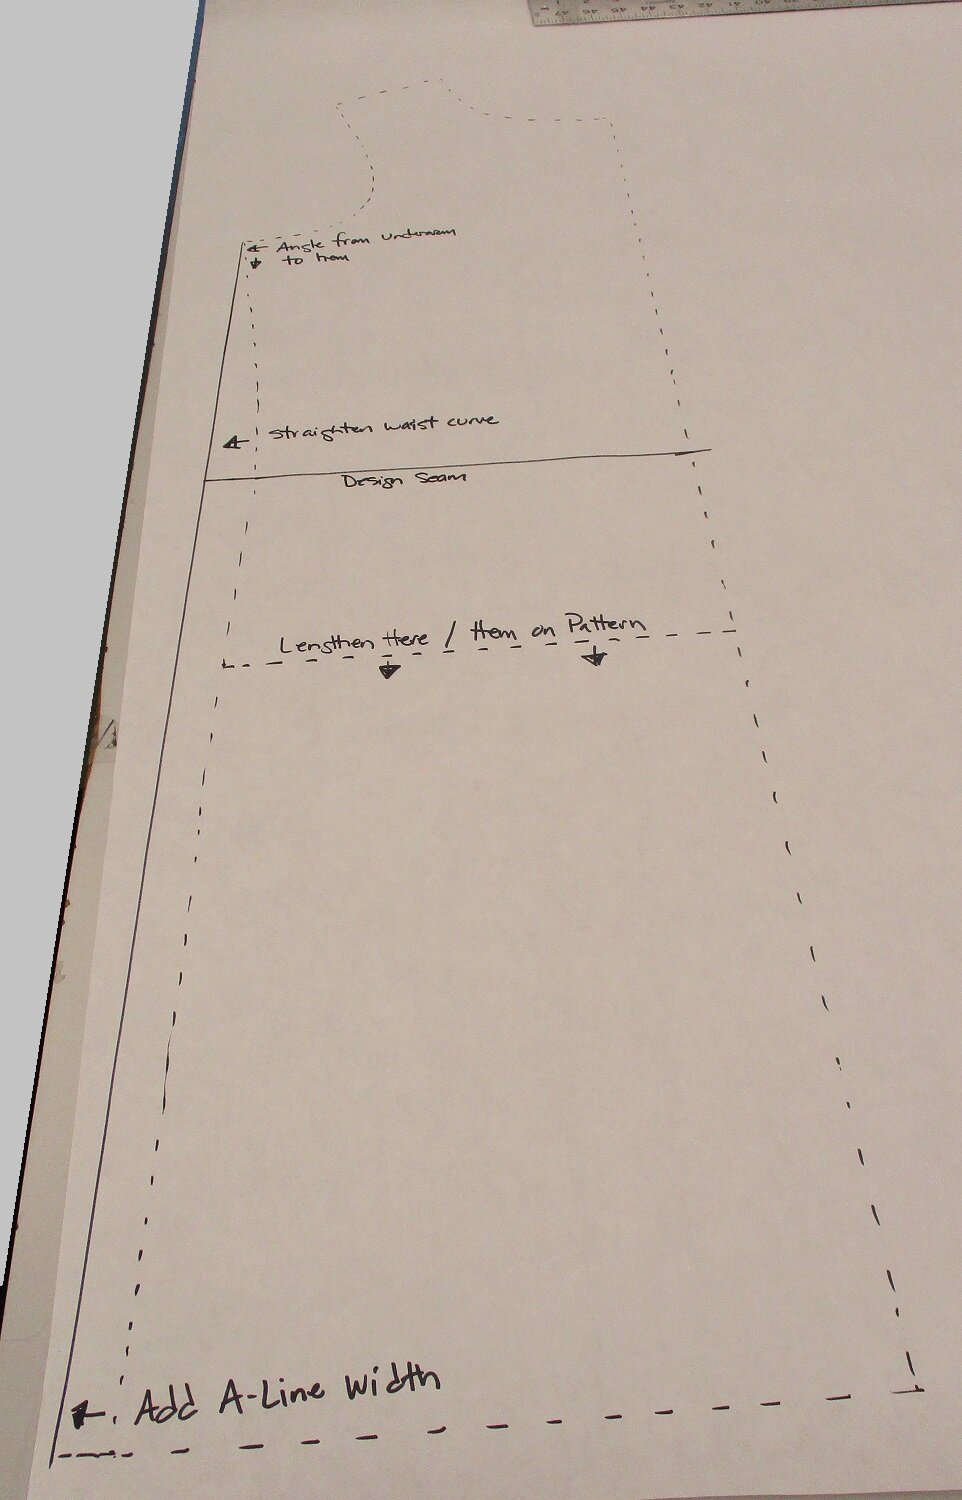
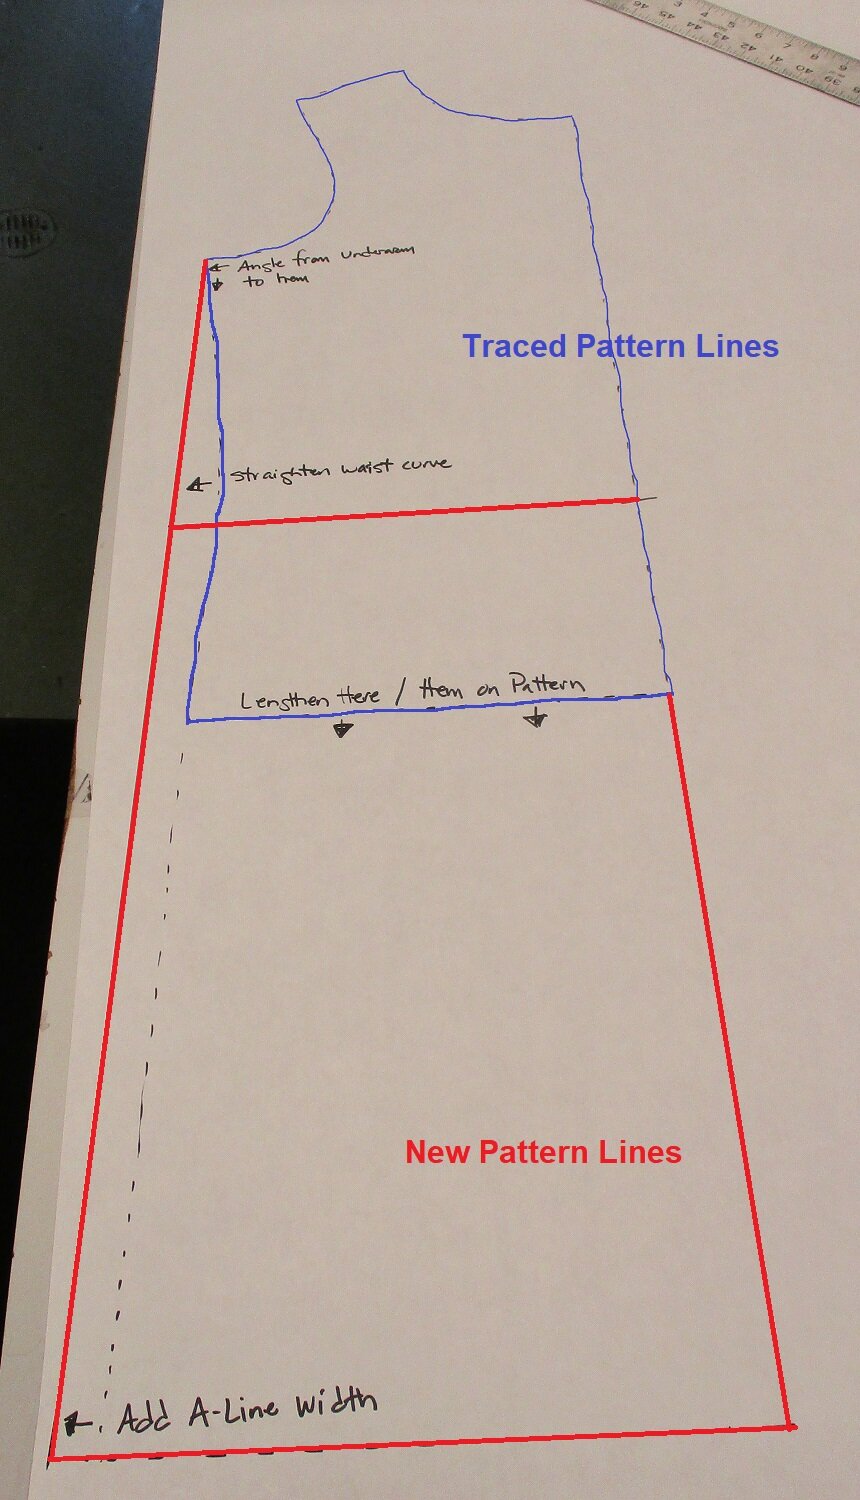
Step 1. Trace the shell pattern front onto tracing paper (pattern is cut on fold). Lengthen from hem, I choose to add 16.25 inches (you will need to add more length if using larger size tucks).
Step 2. Add 1 inch to the width at the new hem and draw a line from the underarm to the hem. This removes the waist curve and creates a new A-line side seam.
Step 3. Draw a line a horizonal line where the waist curve would have been. This will be a design seam.
Step 4. Fold paper and trace so that the new pattern is mirrored. (This step helps you visualize garment when choosing tuck size and placement.)
Step 5. Cut horizontally at the design seam and add 5/8” seam allowance to each side of the cut. (Note: tape paper to the back of the pattern and trim to add 5/8”.) You now have a new upper front pattern piece and a skirt pattern that will be used for front and back.
Step 6. Trace the shell pattern back onto tracing paper and mark the new design seam and seam allowance. Adjust side seam curve to meet skirt pattern.
Add Tucks
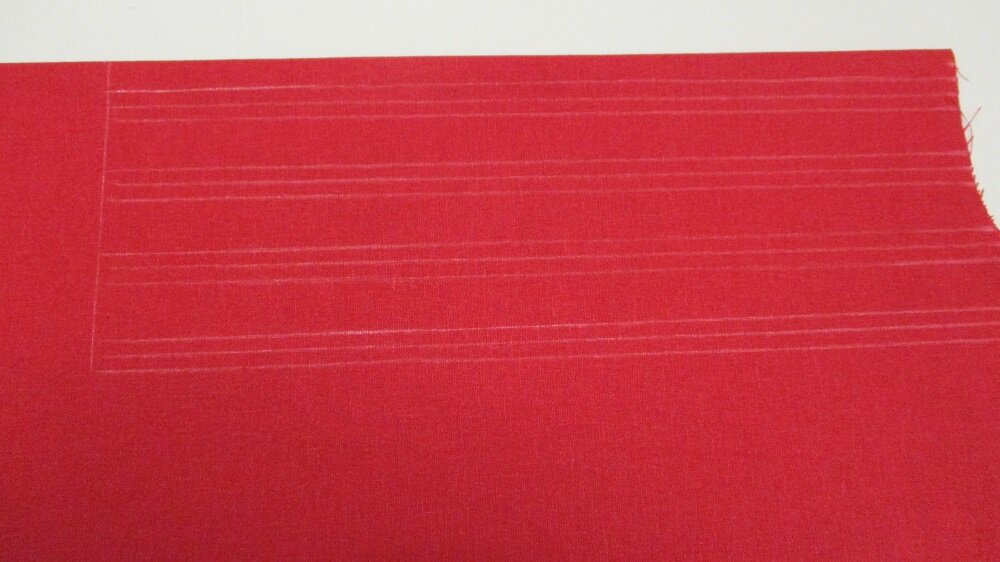
Step 7 Skirt tucks: Determine the number, size, and placement. I choose to use three ¼” tucks, each stitchline 3/4” apart and the lowest tuck 4 inches up from hem. Draw your tucks on the paper pattern. See template (printable pdf). You can place the template where you want and extend lines across full pattern piece using a straight edge.
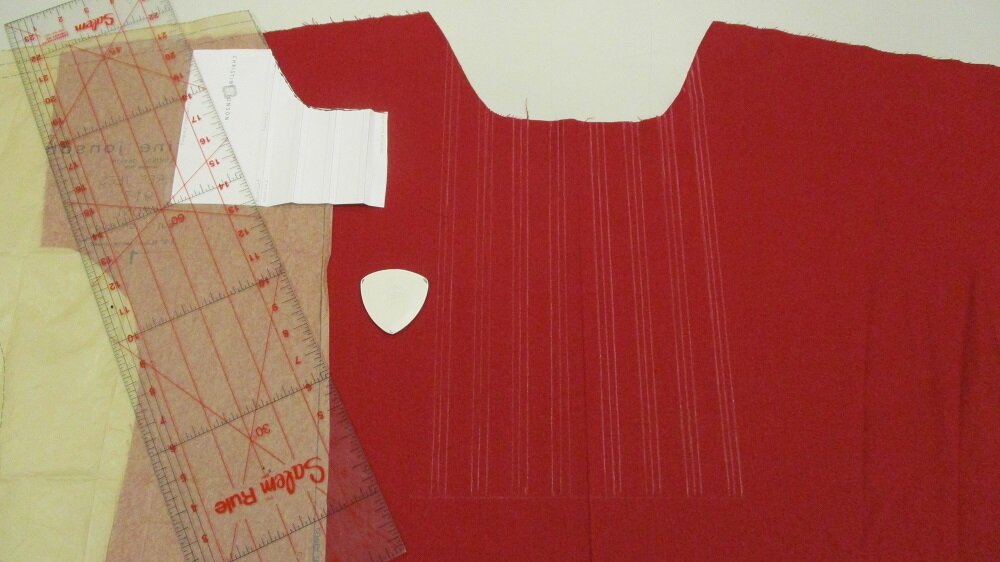
Step 8. Bodice tucks: I used the same size tucks, just positioned vertically with 4 to each side of center. This piece will be cut on the fold so extend the pattern center line to add width needed for the tucks. I had 4 tucks, each using ½” of fabric to create a ¼” tuck so:
4 tucks x ½” fabric used = 2” added to centerline
Cutting this pattern on the fold will add a total of 4” to bodice width and create enough space to add all 8 tucks.
Step 9. Bodice pieces: You should have a back bodice pattern piece to cut on fold, a front bodice piece to cut on fold. Skirt piece: use the pattern piece to cut the skirt front. Then fold the tucks and tape down, this will be the skirt back piece.
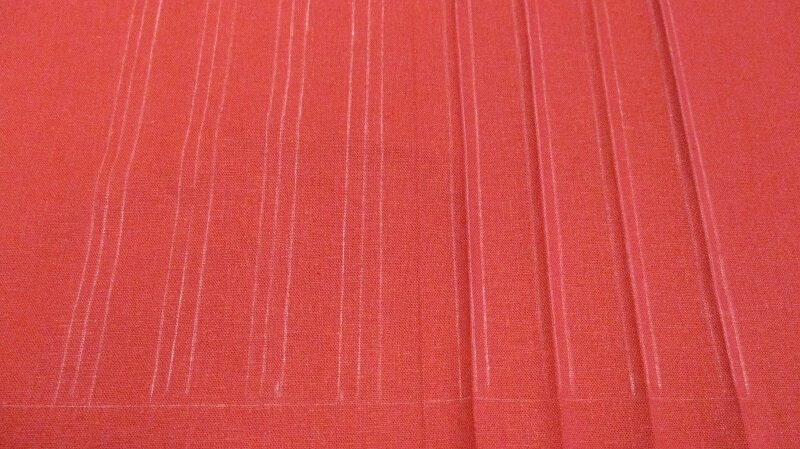
Step 10. Sew the tucks before constructing the garment.
Picture Tutorial: Pant Tucks
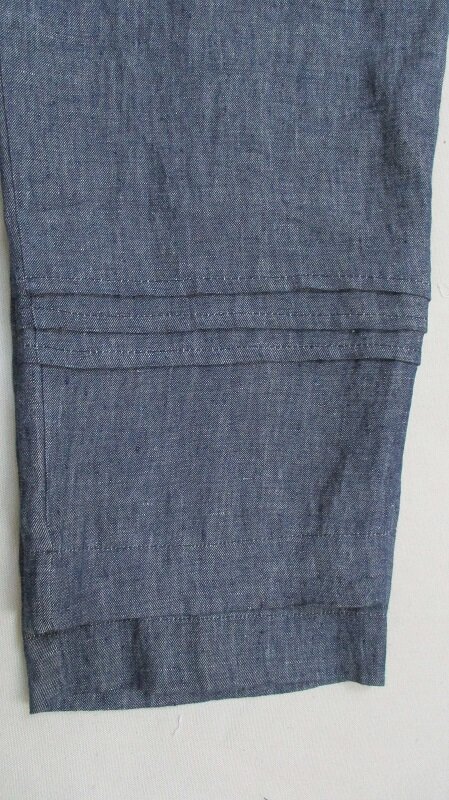
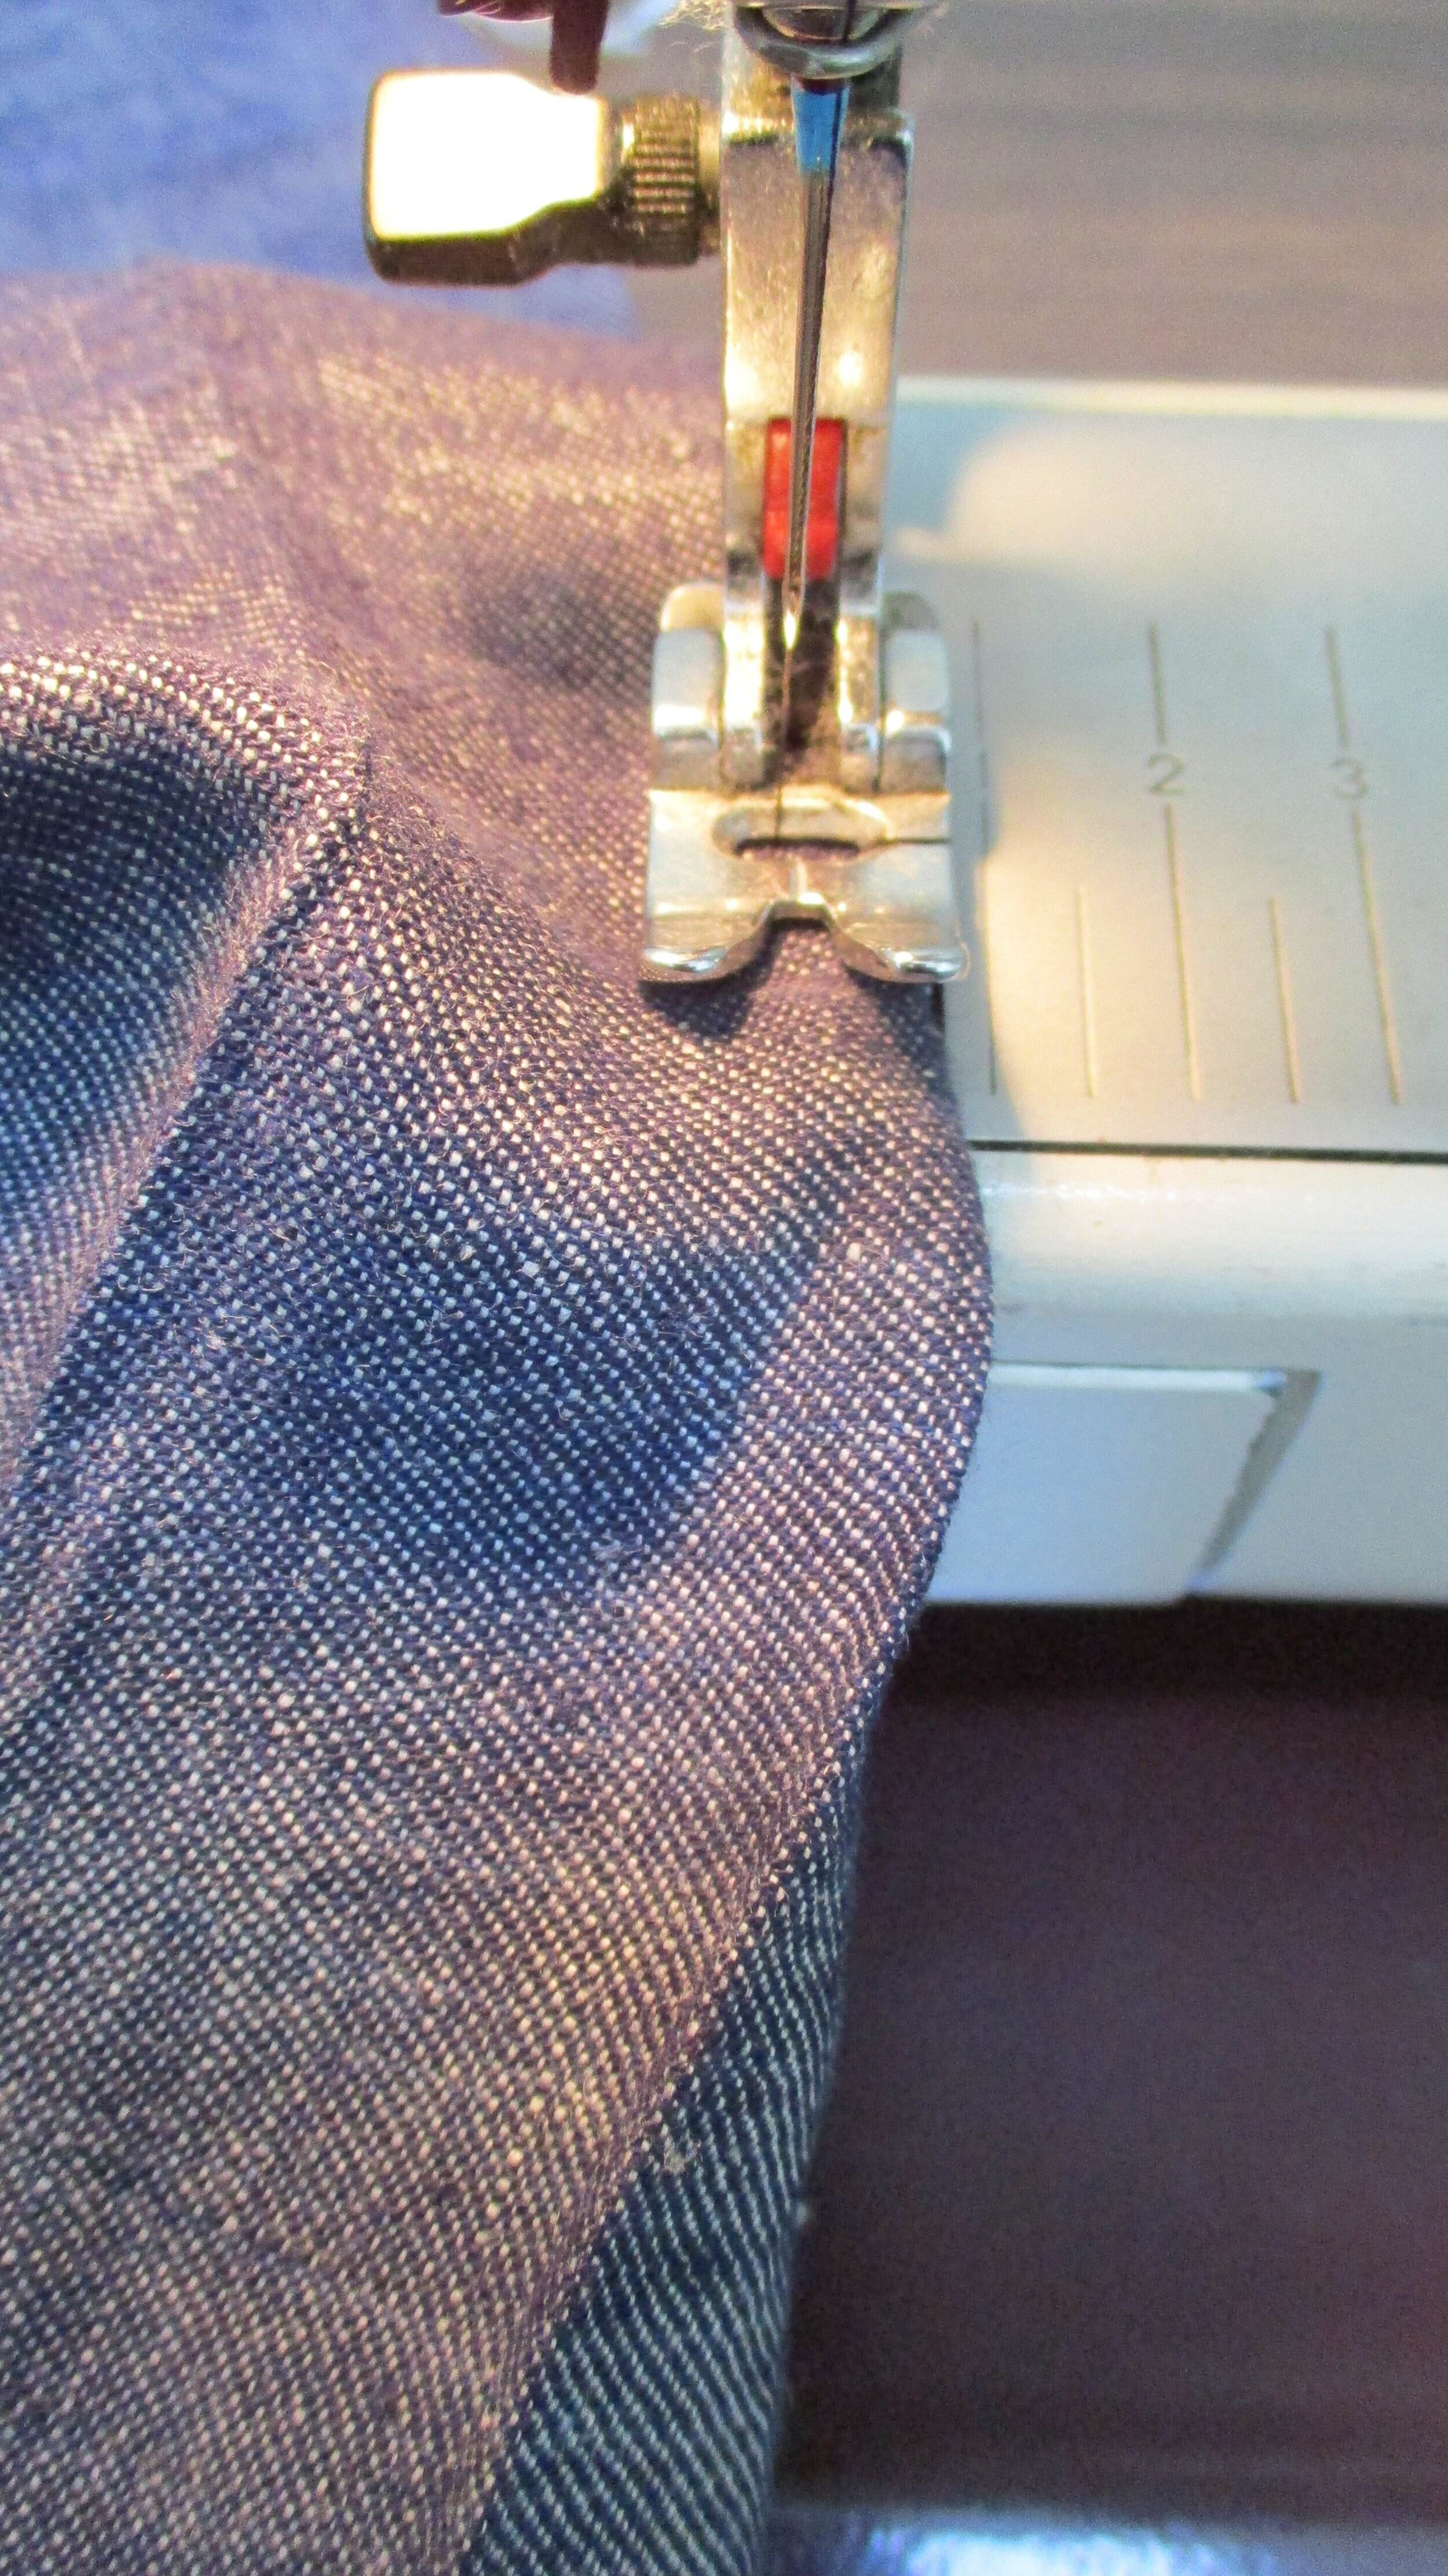
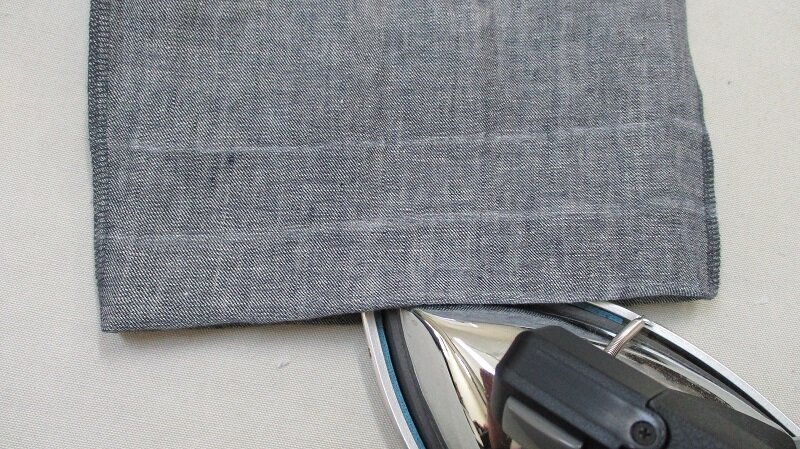
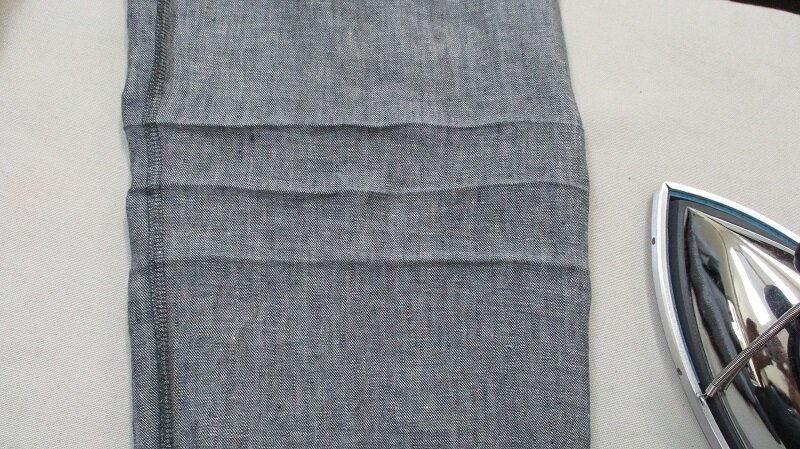
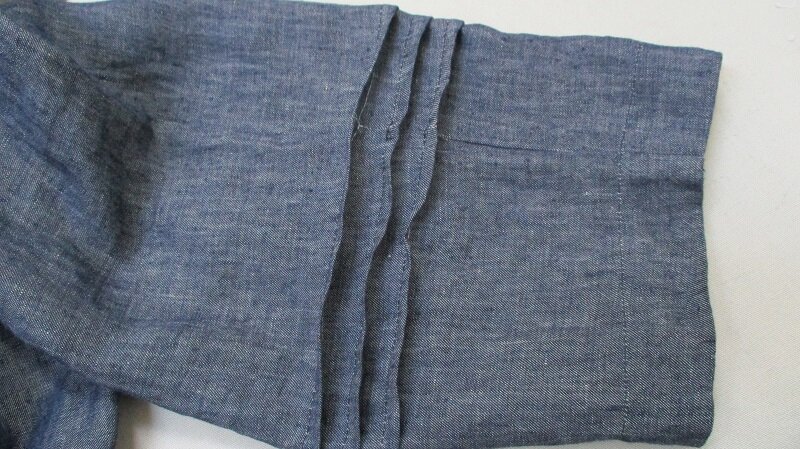
Tucks can also be used to shorten hems without re-hemming, or just as a design detail on pants. I used the same 3-tuck template as the above project, which shortened the pant by 1.5” inches. (each 1/4” tuck uses 1/2” of fabric)


Picture Tutorial: Easy Dress with Tucks
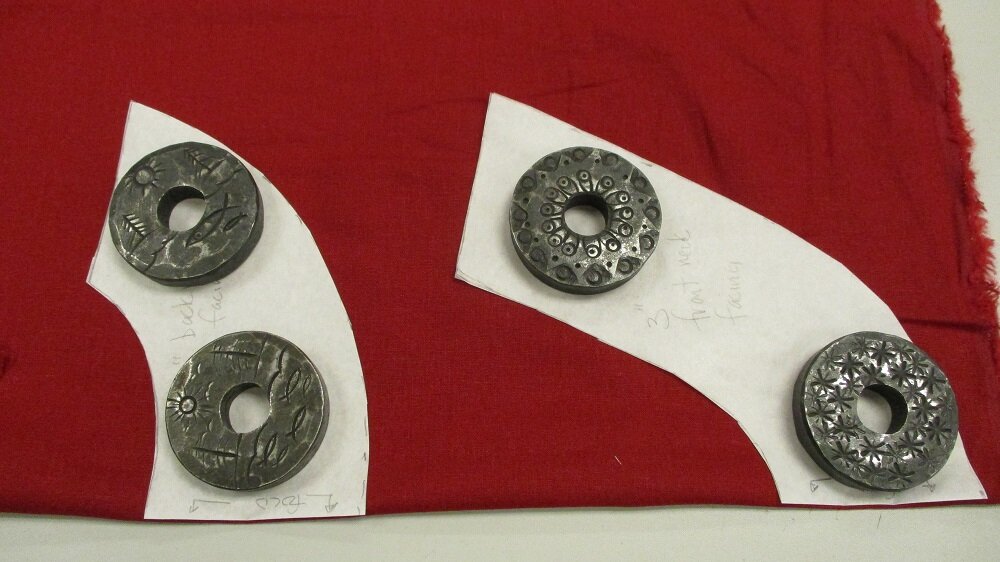
For a more straightforward approach to adding tucks, try using the dress length pattern from Three Tees 917. For this project I cut a size medium straight from the pattern. I made the tucks right on the unchanged pattern. I made this dress from a rayon/linen blend woven (from Joann Fabrics). As it is a woven, I did make one slight change by making facing pieces for the neckline.
