Sewing with knit fabrics: leaving pins behind
Sewing with knit fabrics seems challenging. But knits are incredibly forgiving on fit and are the foundation of our modern wardrobes. There are a number of techniques that will help with sewing with knit fabrics, and in this article, we explore how sewing with knit fabrics means that you'll be leaving pins behind (for the most part) while sewing.
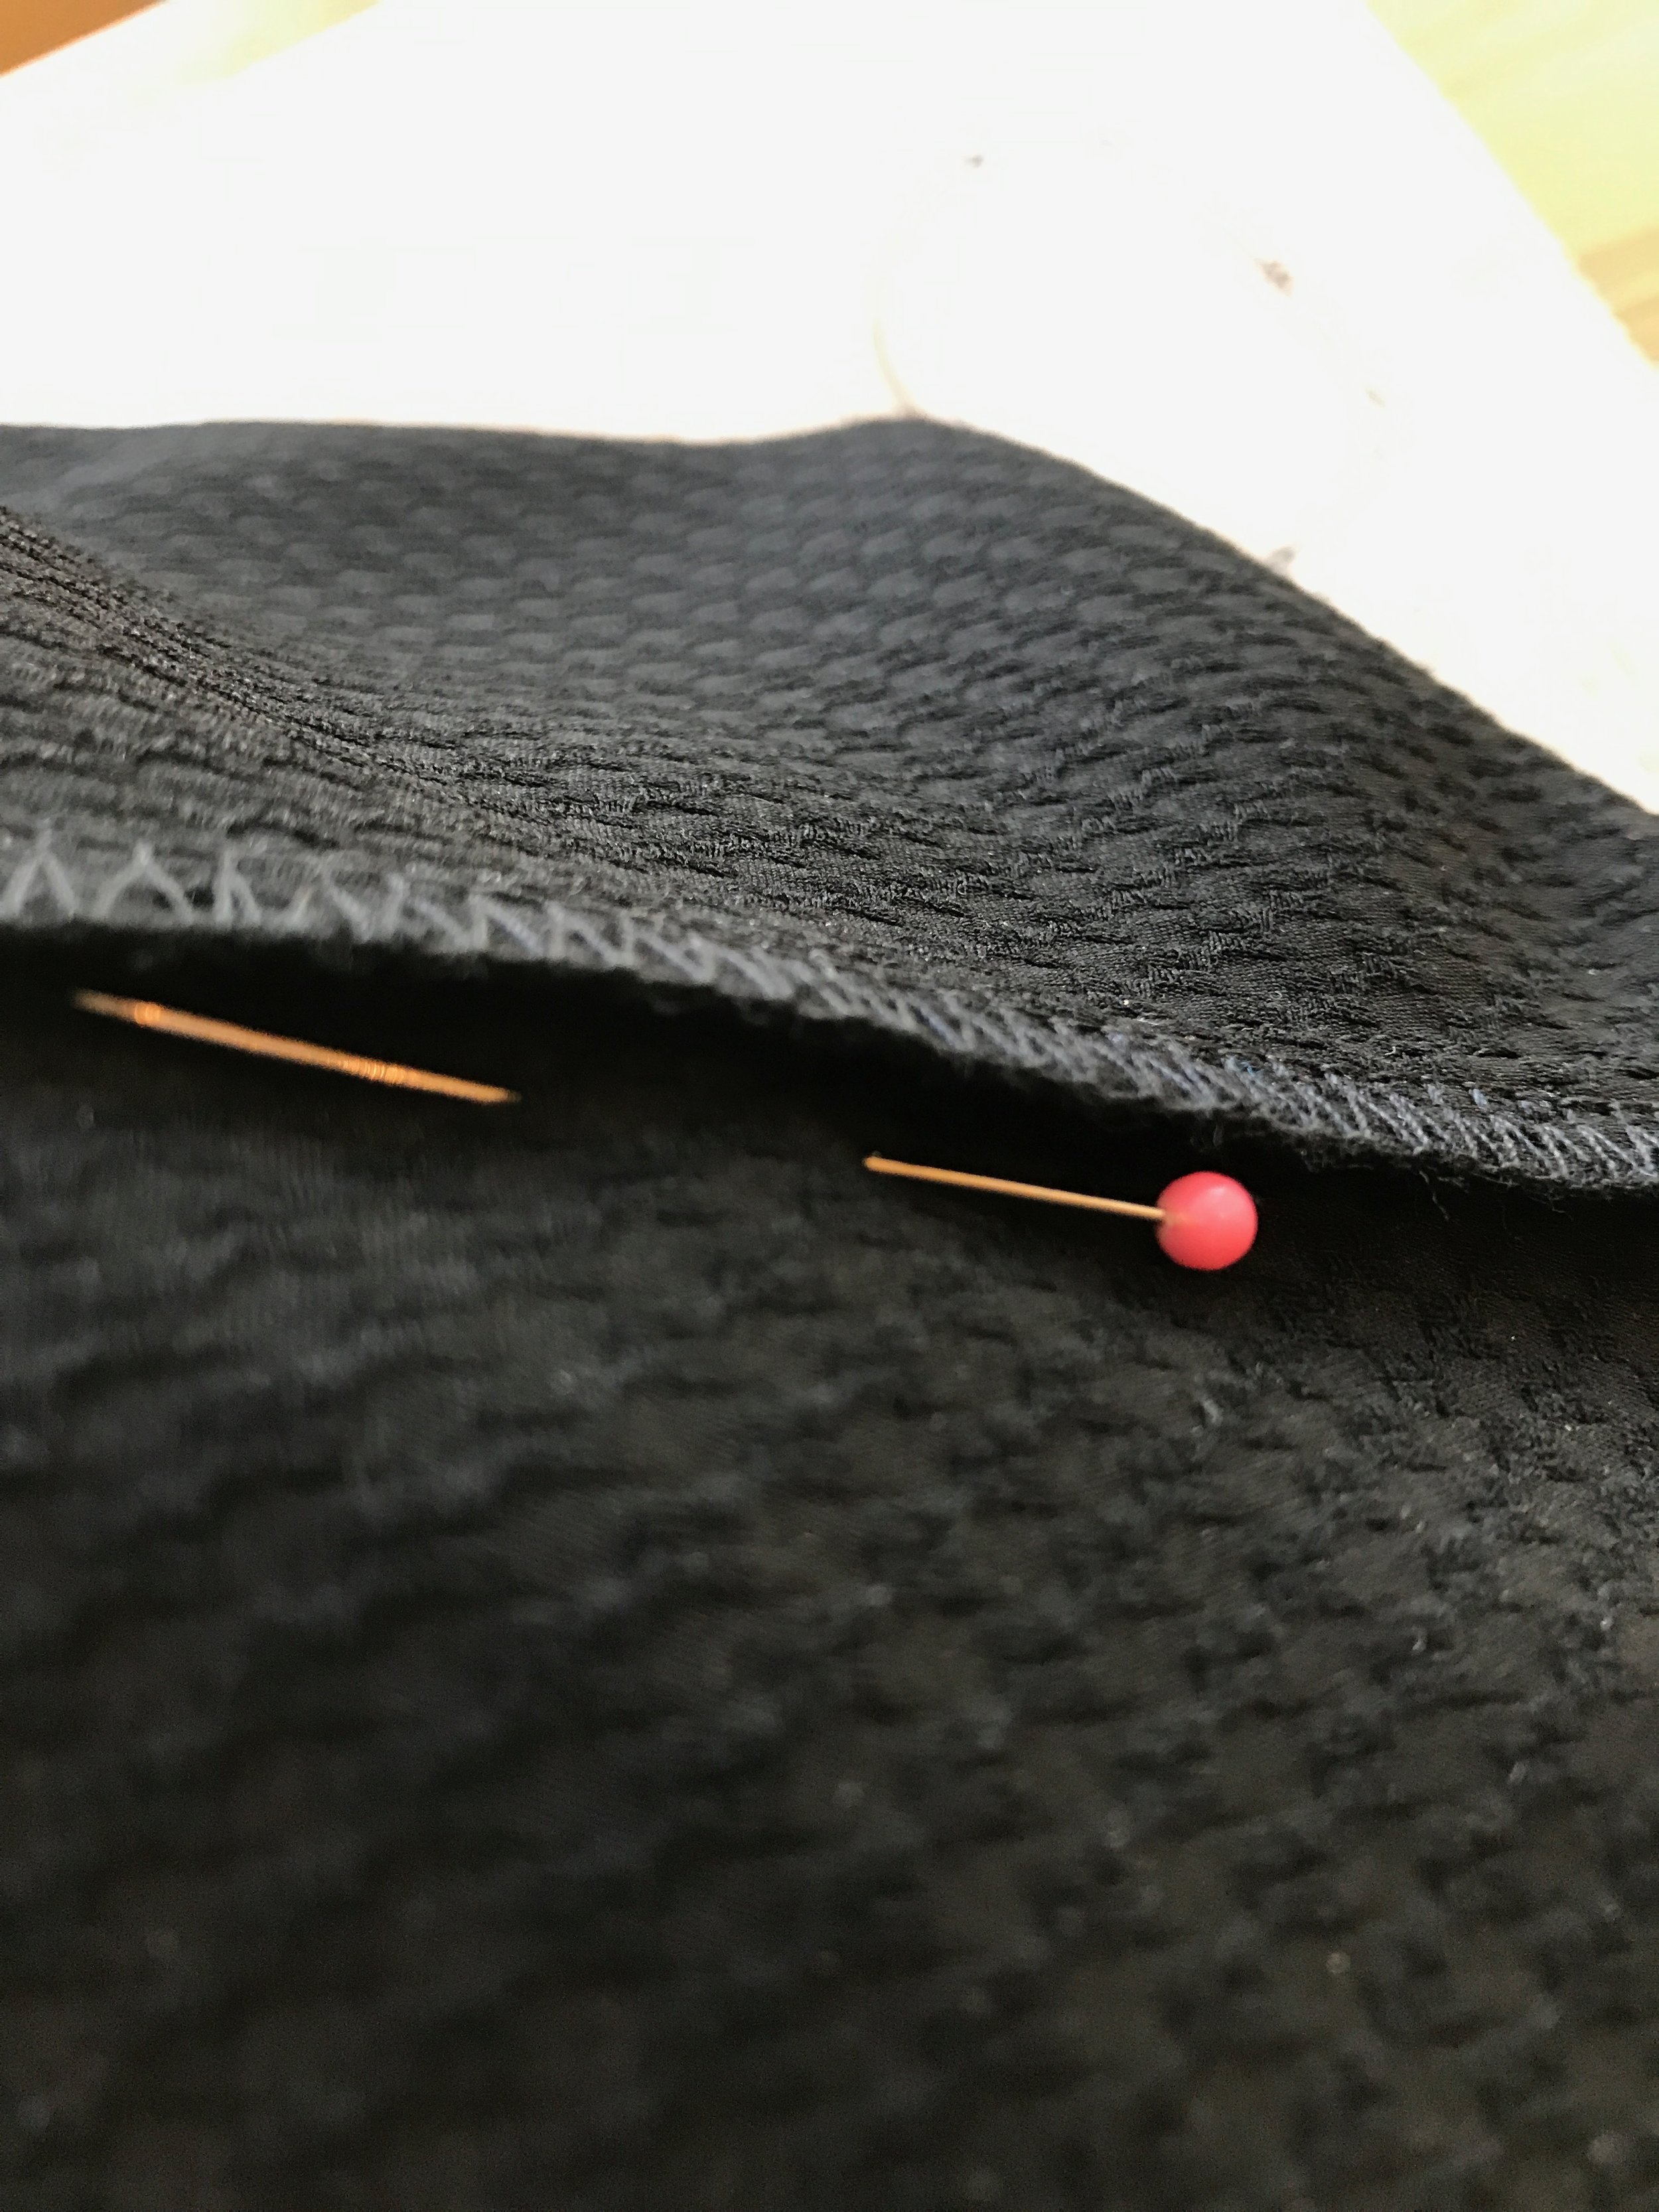
There are lots of situations in sewing where pinning is an absolute necessity. Laying a tissue pattern on unstable fabrics to prepare for cutting, holding a sleeve in place to ready for basting, holding various layers of fabric together, holding trim in place etc. but there is a time when pinning will hold you back. When using Lycra blend knit fabrics you need to be able to access its stretchable qualities and pins can get in the way. Being someone who depends on the forgiving nature of LYCRA blend fabrics in my sewing and designing I find it annoying to have to be so exact when sewing with non stretch fabrics! I like to sample my patterns in non-stretch muslins to check the fit and construction, but I rarely sew garments with non-stretch fabrics, especially now that there are so many great woven fabrics with LYCRA.
I admit that sitting at the serger holding a non-pinned long seam to be serged can be a scary moment. Pins can give you a false sense of security that you are doing the right thing, but you would be wrong. Pins will just get in your way. You need flexibility and control of what you are serging. As you are serging a stretch fabric seam you should be continually adjusting and checking and giving a slight shake and stretch to the seam so as it is being fed under the presser foot the fabric is flat, even, and as you approach the end of the seam that the ends match. You should however, be aware of your notches and use them as a point of reference. You should be holding the layers of fabric behind the presser foot with your left hand and guiding the fabric (not pushing) in front of the presser foot with your right hand. Your left hand should be pulling the fabric from behind, putting tension on the fabric as it moves under the presser foot.
When serging long seams such as a pant inseam or side seam on a skirt, I start at the bottom of the seam. Starting at the edge of the seam you should be able to handle about 6 or 7 inches at a time. When you are about half way to the end of your seam stop (with the needles in the fabric) and match the end of the seam, then hold the next 7 or so inches of seam and continue until you are at the bottom edge. And as you approach the very last inch, slow down and continue feeding the fabric straight under the presser foot, don’t let go until the feed dogs have taken the last of the fabric. If you know what is going to happen at the end of your seam when you are half way there you will never end up with one longer than the other!
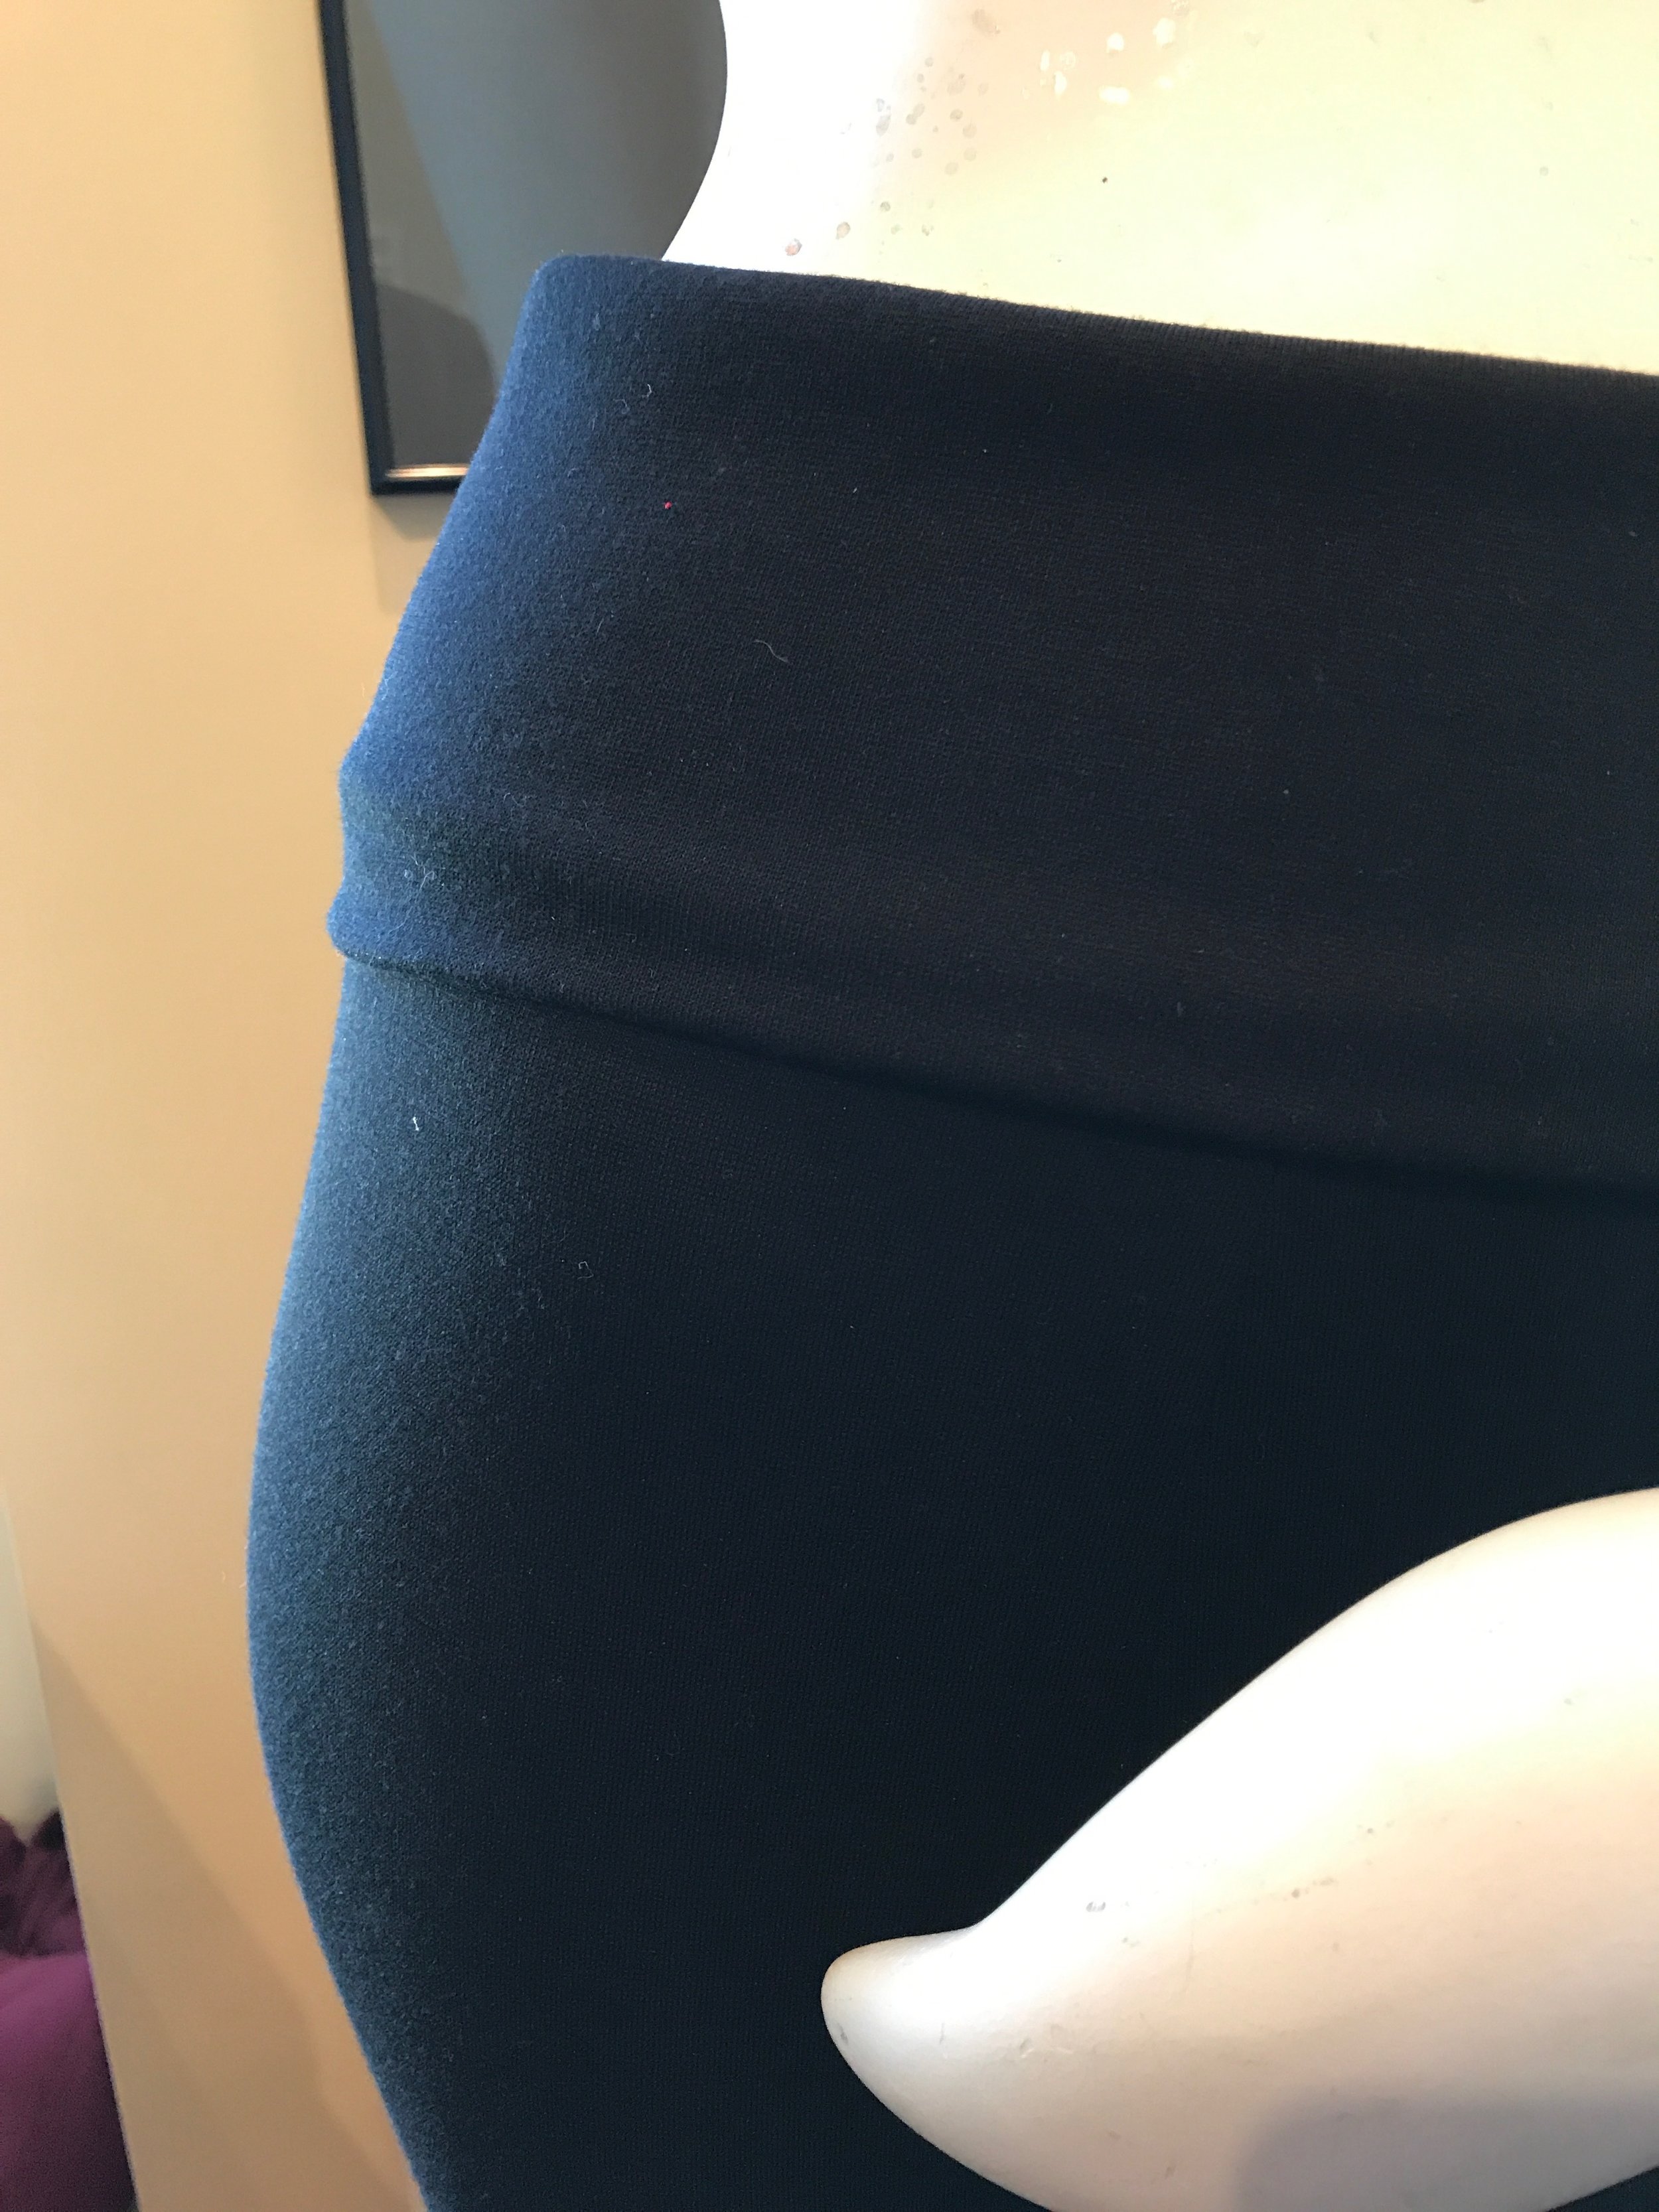
For example, if you were serging the side seam of the Pencil Skirt and you pinned the seam every 7-8” and forced the fabric to match at the end of each pinned section and started and stopped along those barriers you would not be letting the fabric adjust itself under the feeder and presser foot. Chances are your seam would not be smooth and even but choppy and show uneven stretching.
Pins should not be in control of your stitching, you should be making adjustments to the way the fabric is being fed into the machine the entire time you are serging. They may be small, quick adjustments but they make the difference in how that seam will hang when you have your skirt on.
Try it!


