Putting together a PDF sewing pattern
By Ginger Cato, A Christine Jonson Patterns Customer & Facebook Group Moderator
The Cowl Neck Tunic is a PDF pattern that you print using your home computer and printer. Read page 1 of the pattern, which is a guideline for printing the pattern. To begin print page 2 only of the pattern. Make sure your printer is set to 100%/actual size. As each printer is different you may have different wording on your print screen. You want the pattern to print at actual size. If not, then your Cowl Neck will not fit. The pattern should print in portrait mode.
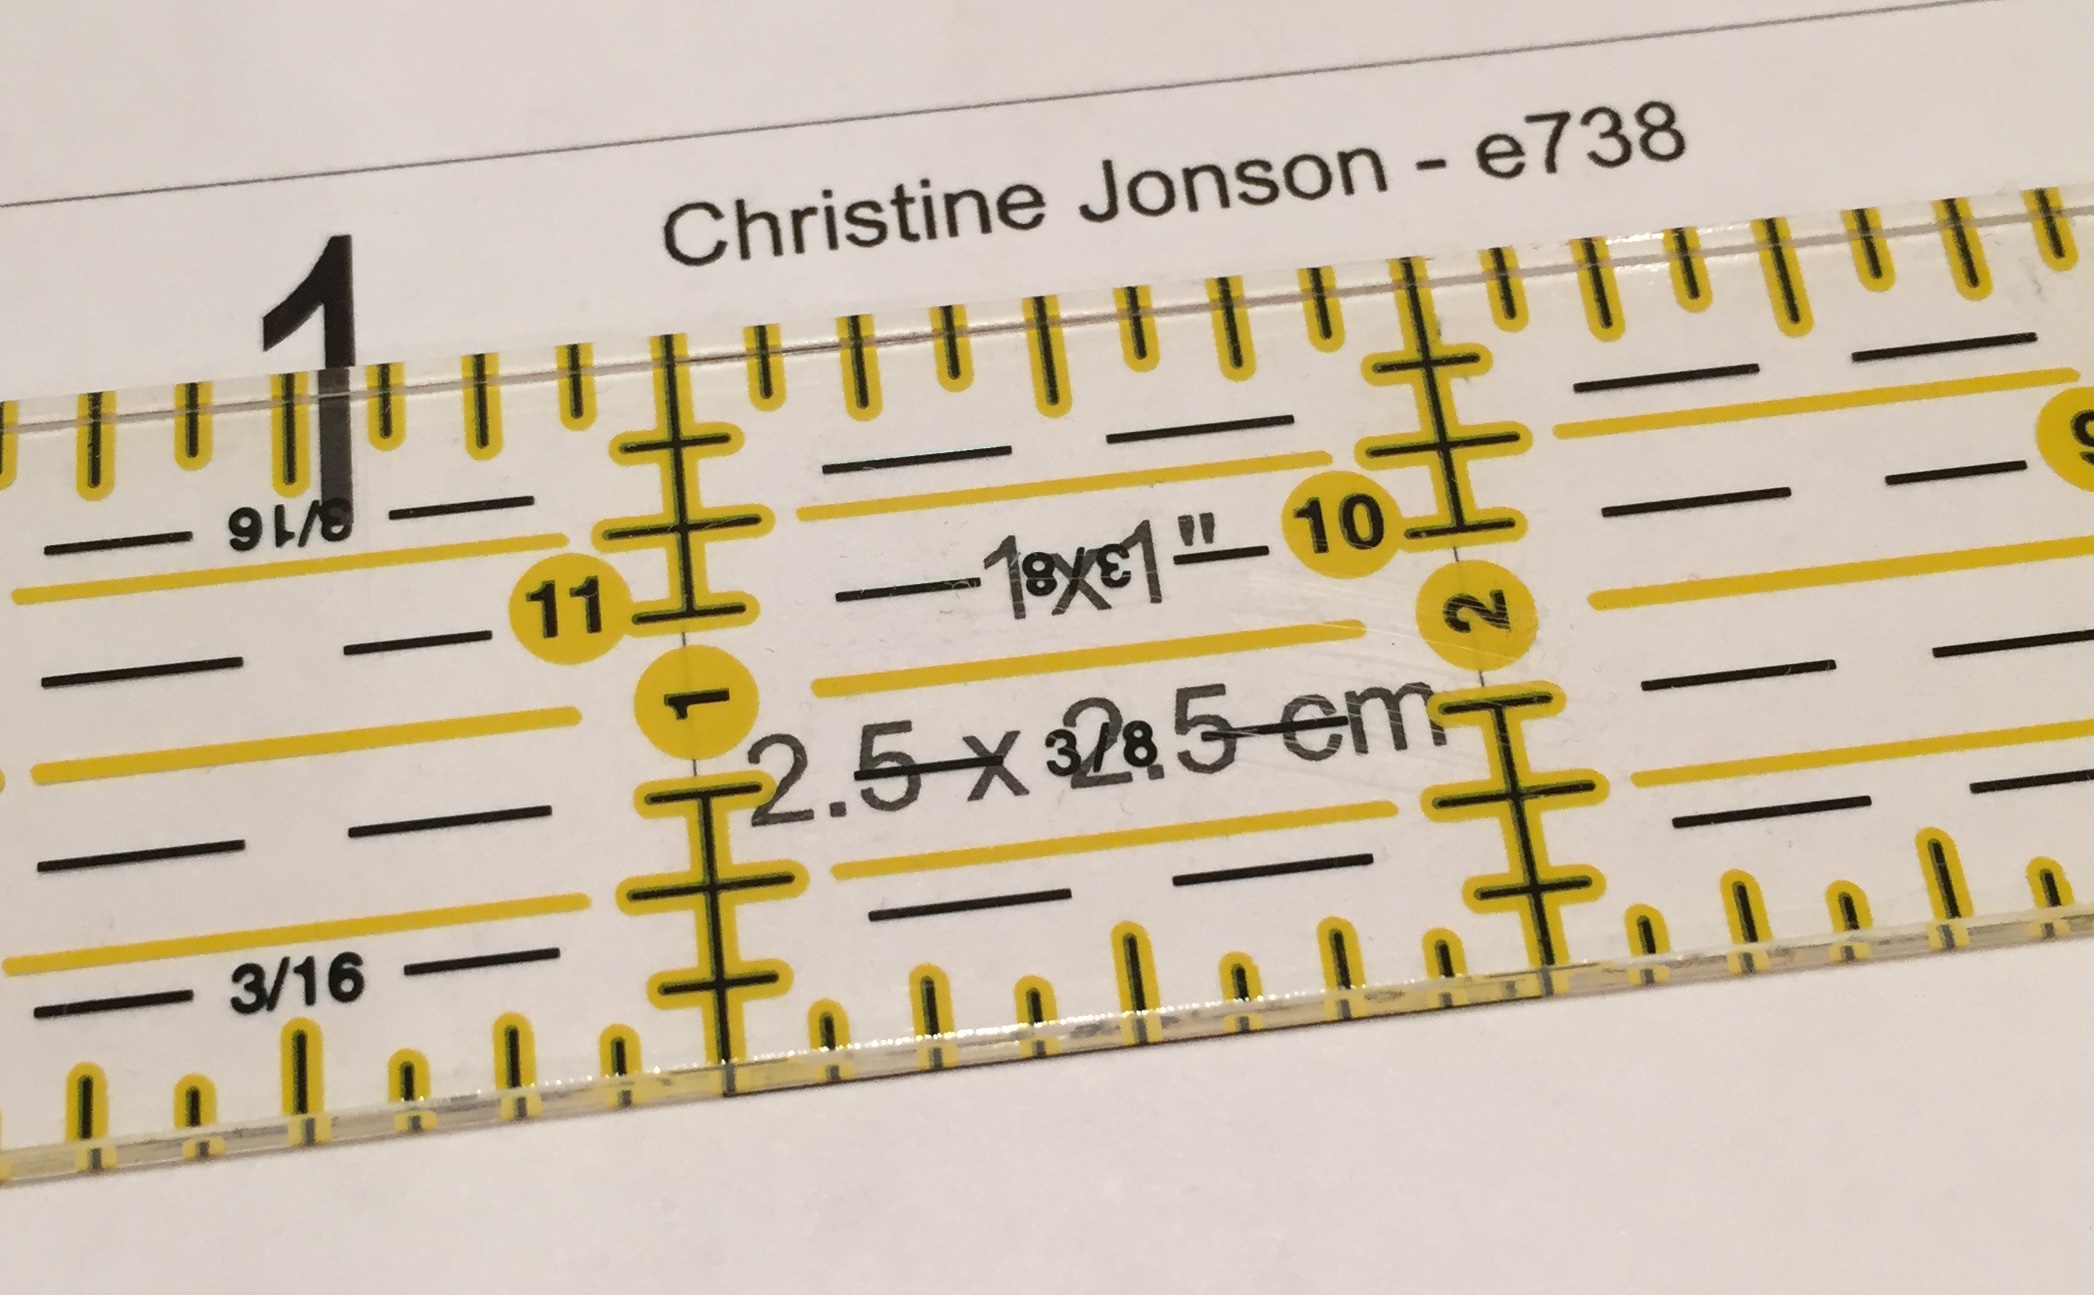
After page 2 is printed, take a ruler and measure the box. Your box should measure 1” by 1” (or 2.5cm x 2.5cm).
Next measure the margins. They should measure 3/8” from all sides. If both are correct then proceed with printing the rest of the pattern. There is no need to print the entire PDF file. The pattern is on pages 2-21 and 28-29. Decide if you are making the tunic or the top and which neckline. You have already printed page 2, no need to print it again.If you are making the lowered neckline print pages 28-29. Each time you print make sure you are printing at 100%/actual size, just as you did with page 2. If you are making the tunic print pages 3-21. For the top you can save paper and only print pages 3-16.
Now it is time to assemble the pattern. Refer to the diagram on page 19. Trim the right and bottom border off each page. The pattern is 4 pieces wide. Lay piece 1 on your table. Place piece 2 to the right, matching margin line and pattern lines. Tape in place.
I usually place a piece of tape near the top and bottom, where the pattern lines overlap. Now place piece 3 to the right of piece 2. As before match up lines and tape.
Now place piece 4 to the right of piece 3. As before match up lines and tape. You have completed the first row. Leaving that on your table continue adding pieces in the same manner until you have your pattern together.
If you are using the original pattern neckline then your pattern is complete. If you have chosen to use the lowered neckline, read the instructions on page 27 of the pattern. Match and tape pieces 23 and 24 together, using the same method as before. Using the front pattern piece overlap 23/24 on top, matching back neck and shoulder lines. Tape in place. INSERT PIC 7Use a ruler to extend the new center front line to 1/4" below hem, as shown on page 27. Drop both center hems 1/4".
Now that your pattern is complete you may chose to cut or trace your correct size. Before cutting or tracing make any alterations to the pattern. Double check the sleeve length and garment length is to your preference. If you chose to cut your pattern you may find that you need to add more tape. Now you are ready to cut your fabric and sew.


