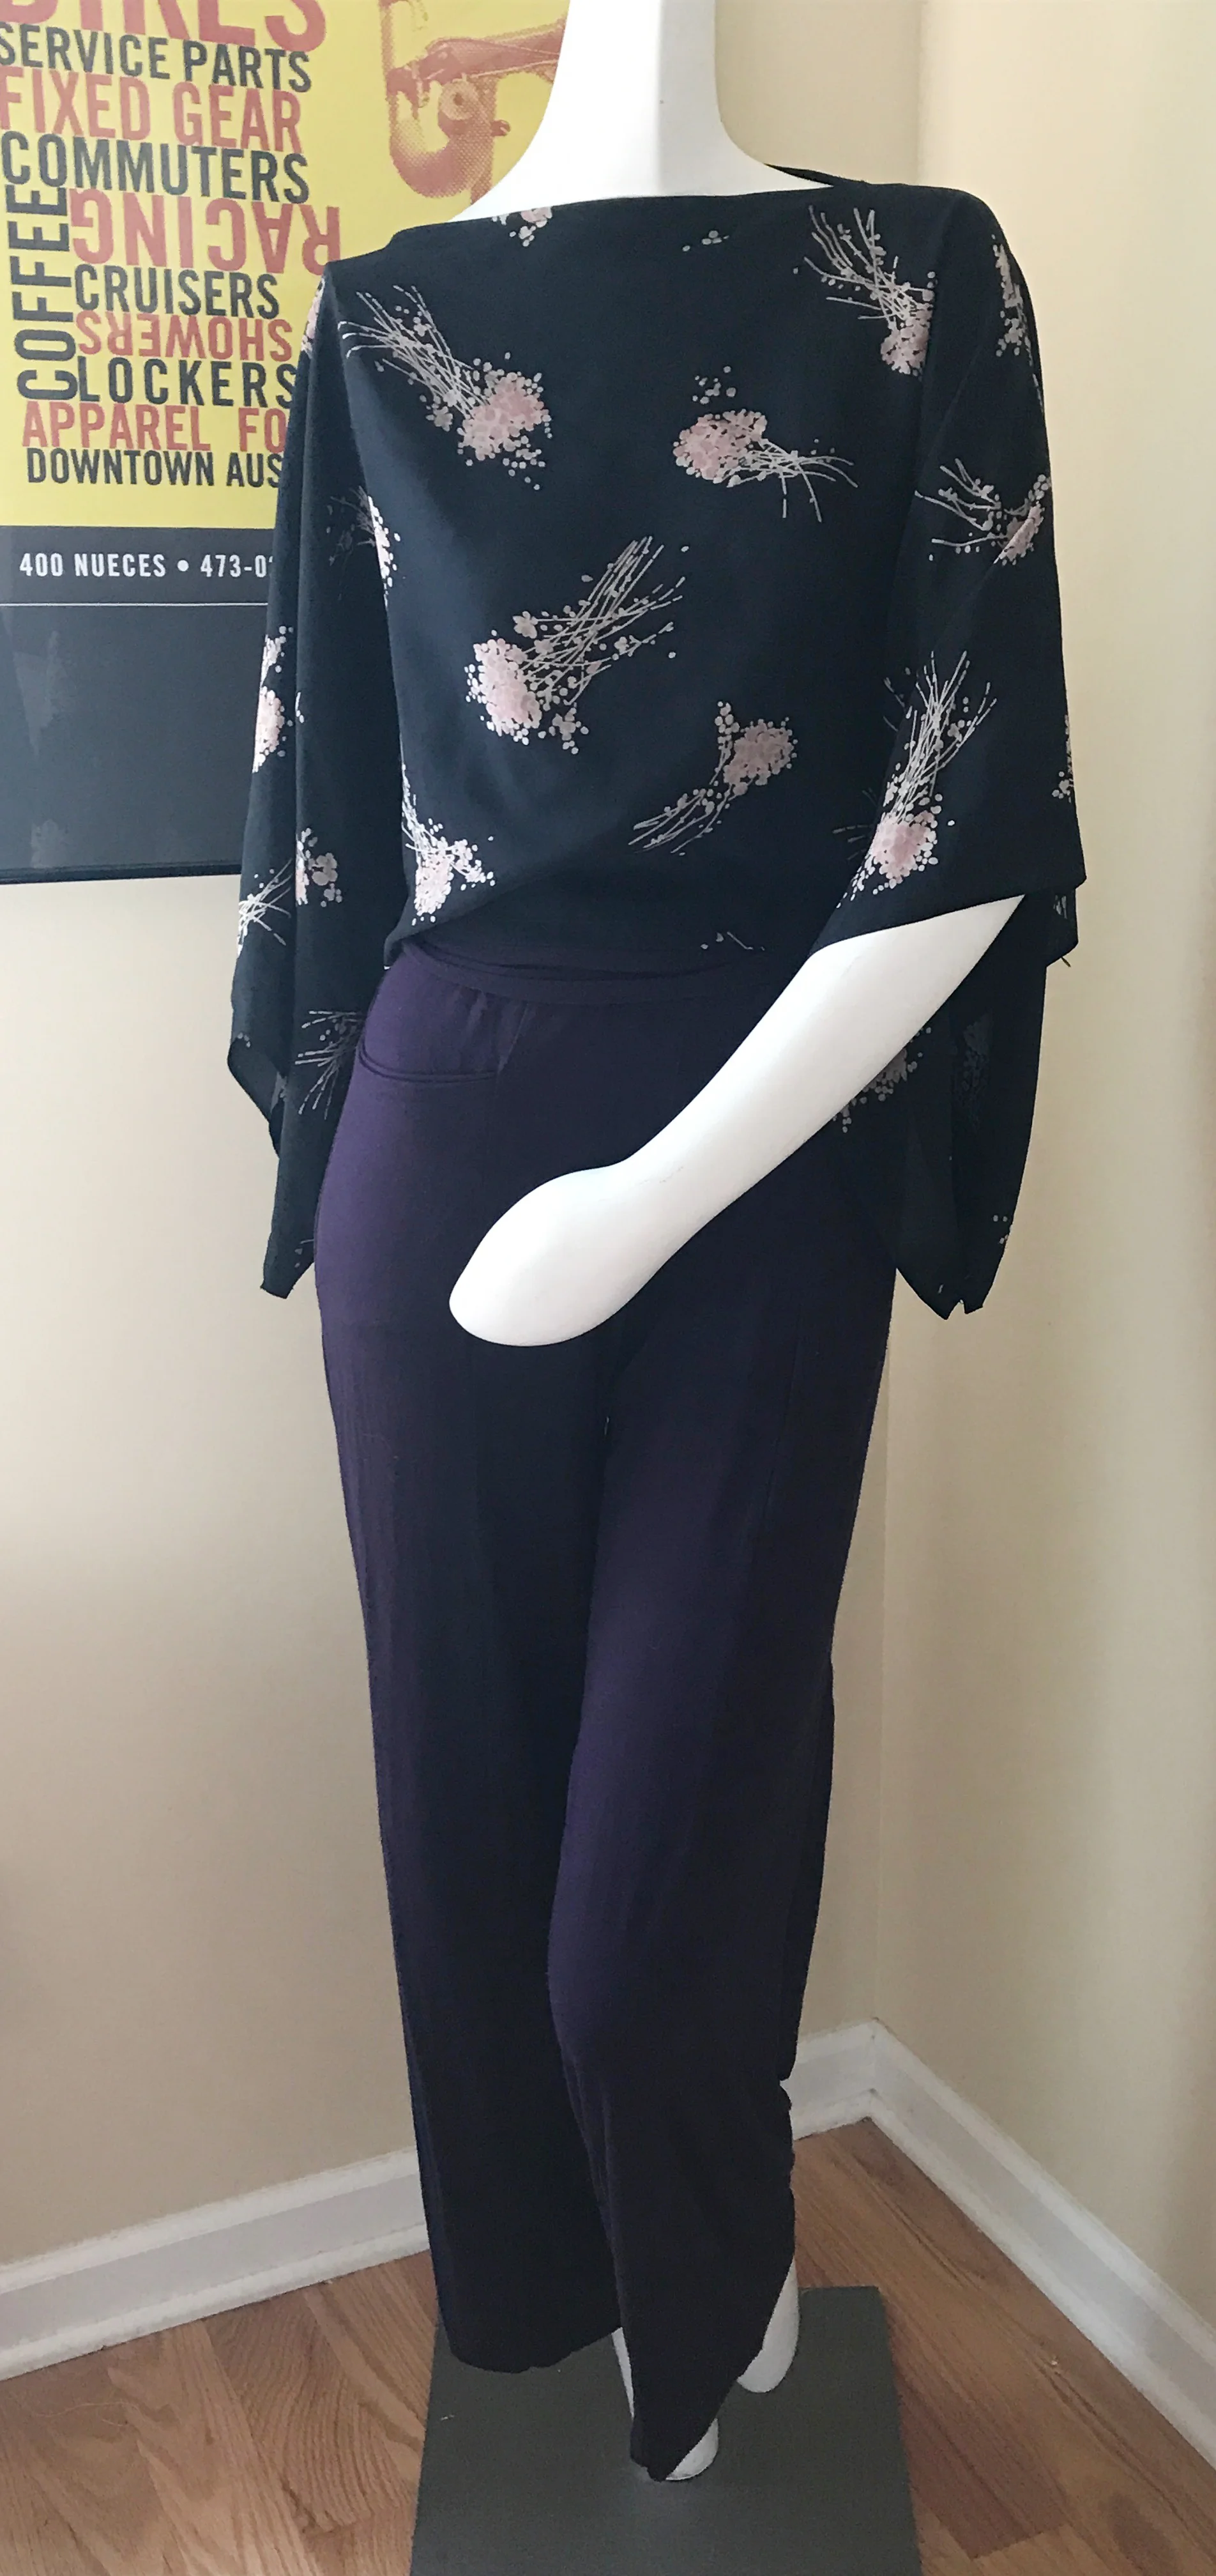
Quick no-pattern one-yard Poncho Kimono Top FREEBIE!
This quick no-pattern one-yard poncho kimono top is inspired by one designed by Christine Jonson Patterns Customer Experience Manager, Ann Siegle
This graceful top uses a selvedge-to-selvedge piece of drapey woven fabric like rayon, silk, silky poly, georgette or knit fabrics like rayon jersey, silk jersey. It’s easy to make, perfect for beginners and makes great gifts!
Check out our recorded video on our Facebook group to see this pant and top in action on a size 12 model.
To sew this, you’ll need to take a few measurements first.
1) Hip circumference
2) Desired top length – the version shown in the example is high hip, at the hip bones, but you can go as low as mid-hip
3) Desired neckline opening (from 12” to 14” - the example is 12”)
Once you have your measurements, you’ll want to add 2” to 4” to the hip measurement and divide by two (so if your hips measure 40” you’ll add 2” to 4” – 42-44” and divide by 2, or 21-22” to get the measurement for the hip opening at the bottom.
Cut your fabric from selvedge to selvedge with 3/4” seam allowances both top and bottom. If your desired top length is 17” finished (example, high hip on Ann), you’ll cut 18.5” x two panels x the entire width of the fabric, or just ever so slightly OVER one yard of fabric!
Mark the center front of your fabric panels. Divide your neck width x 2 and mark that on either side of the CF, so if you’re using 12” wide, mark 6” on either side of CF.
Do the same for the hem opening, marking on either side of the CF, or 10.5” or 11” on either side of the CF mark for the hem.
Placing fabric right sides together, using a ¾” SA, seam from the sleeve hem edges to your first mark on the top edge, creating the shoulder and over arm seam. Backstitch for security. Skip over the neck opening and backstitch at your neckline edge marking and stitch to the sleeve hem. Press this open. Fold the SA under on each side and press. Topstitch. This creates a finished flat-felled looking seam on the shoulders AND finishes the neckline at the same time!
Repeat this for the bottom hem, using your hem opening markings.
Turn the top right side out and press the rectangle flat.
Mark 6” up from your hem where the hem openings begin and stitch, backstitching at the top of the 6” marking for security. This creates your “sideseam”.
Slip the top on and enjoy!
If you are wearing this top with the Christine Jonson Perfect Pants, you do not need to wear a camisole, as the top of the waistband will come up high enough under the top to cover any belly!
Click on this image to enlarge it
The Kimono Top looks great shown here with the Perfect Pants Classic Wide Leg (or the Perfect Pant Skinny or the Perfect Pant flare!):

