Sewing a shirt tail hem dress
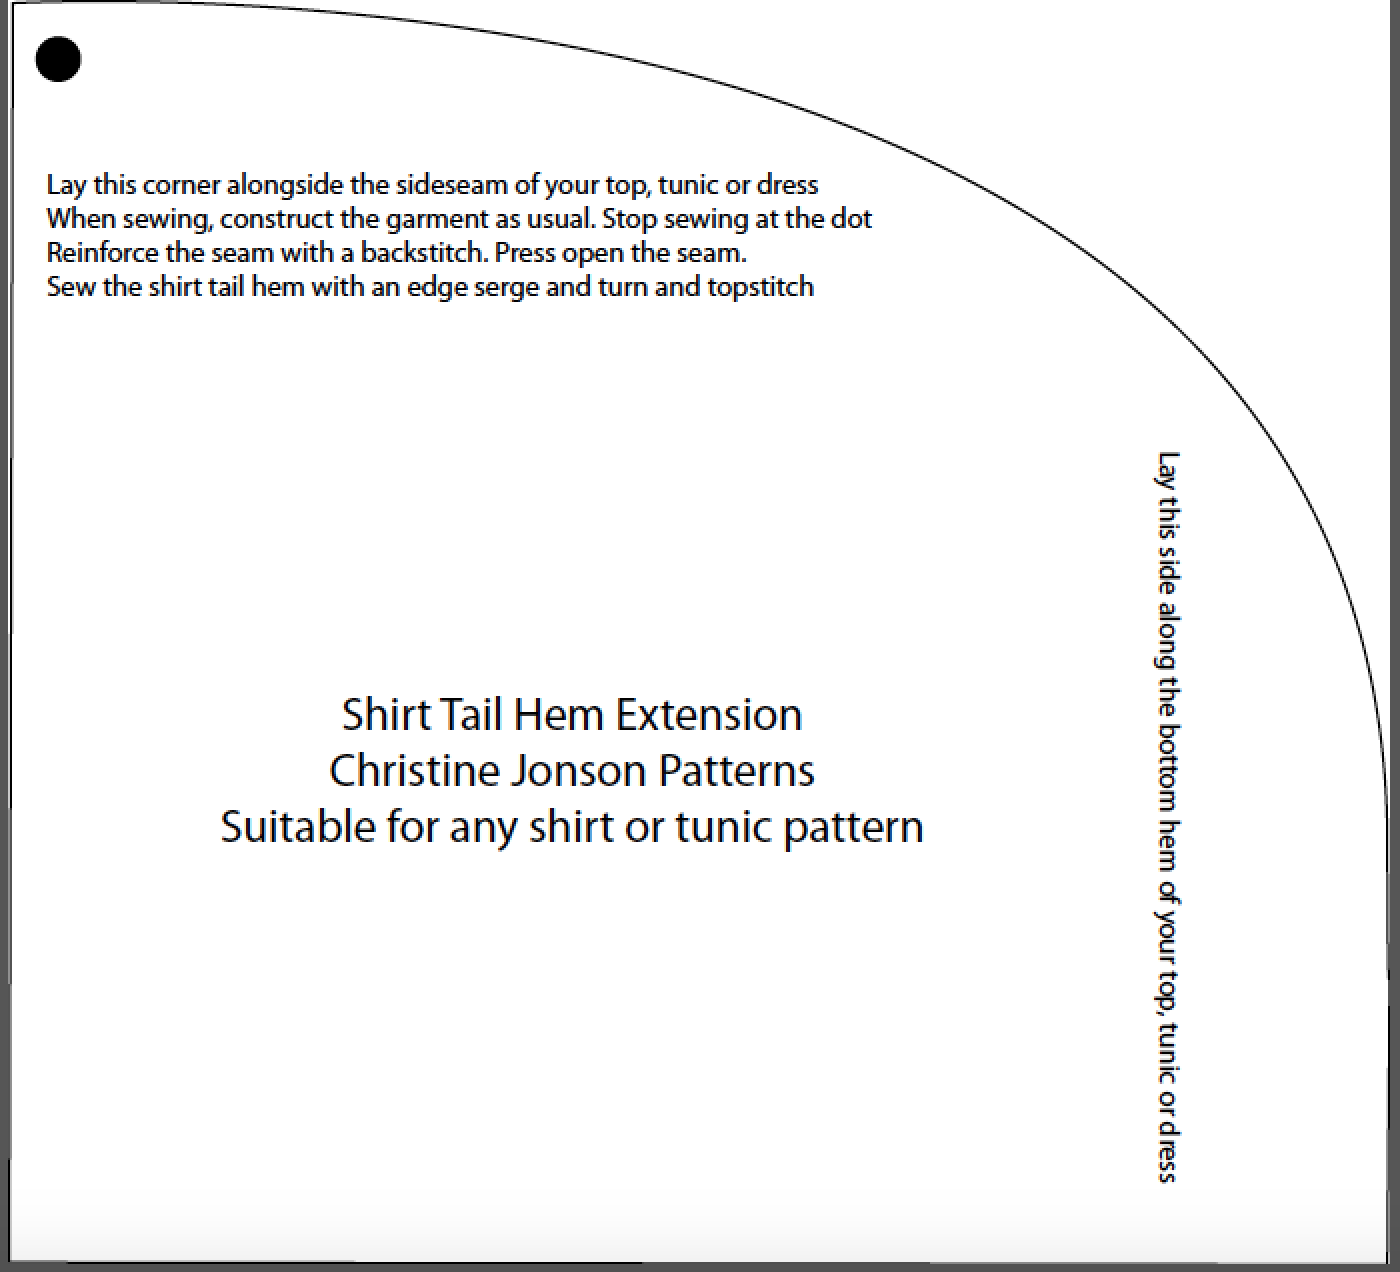
Sewing a shirt tail hem on a dress is a fun detail that adds distinction to a simple tee dress. Our favorite simple tee dress is the Three Tees cap sleeve version for summer. The Three Tees comes in a tee length, a tunic length and a dress length. All three will work for a shirt tail hem. We'll be using our FREE Download shirt tail hem addition which you can find here. Here's a picture of what the hem extension looks like (use the PDF download above to get the right size document for sewing.)
The Shirt Tail Hem Extension can be used in two ways, 1) to extend the hem of a tee, tunic or dress the depth of the extension or to 2) round the corners of the existing pattern piece and sew a shirt tail hem the same length that the garment is designed for.
To extend the hem of a tee, tunic or dress:
Lay the extension's left edge against the bottom hem of the existing pattern, dot at the sideseam. Tape it to your pattern (or just chalk-trace your pattern plus extension onto your fabric. Mark the dot at the noted spot, so you know where to stop sewing the side seam.
To curve the hem of a tee, tunic or dress:
Lay the extension's RIGHT edge against the hem, dot at the sideseam. Fold up your existing pattern out of the way underneath the extension. Trace the pattern with the curved corner and mark the dot at the noted spot.
To sew the shirt tail hem:
Sew down to the dot and backstitch a few times to secure this. Edge-serge the entire shirt tail hem. Fold up the serged edge and topstitch. If you're not using a serger, fold up the hem 1/4" and secure with Wash Away Wonder Tape or Steam a Seam, then topstitch.
That's it! It's a fun way to sew and wear a tee, tunic or dress!

